If a hurricane is headed your way, you must act fast to protect yourself, your family, and your property from harm. As Level Management Team advises, one of the most effective and quickest ways to keep the people in your home safe is installing hurricane shutters on your windows.
There are different types of shutters you can install on the windows. Plywood is a standard option, but the issue with plywood shutters is that they are temporary and may also not be available in the countdown to a hurricane. Other options are:
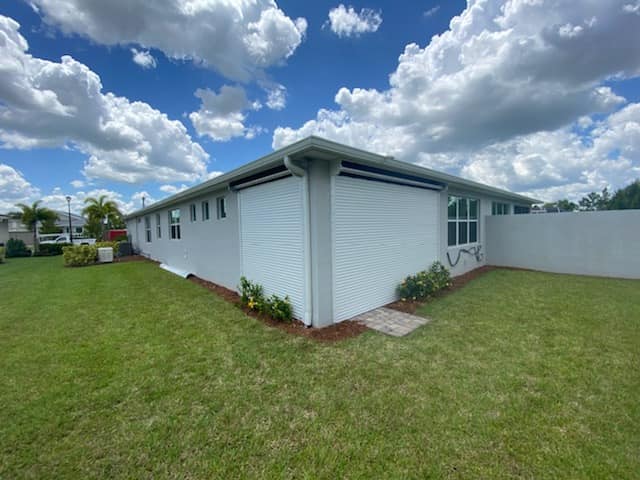
To enjoy the protection of hurricane shutters, you must install them before a hurricane hits. This post explains how you can do that. We will be using roll-down hurricane shutters for this explanation of how to install hurricane shutters.
Here is what you need for this installation:
Measure the height and width of the window where you want to install the shutters. Instead of directly on the edge of the window, you want to install the shutter ¼ - ½ inch from the edge (check what the manufacturer's recommendations are).
Some shutters come with pre-drilled holes. If yours don’t, you must make the holes yourself. You need one hole in the center of the housing unit and base slat, plus five additional holes. You will need one hole every six inches for the guide rails unless the manual says otherwise.
Measure the bottom of the window again and mark the center of the window. Do the same for the bottom slat. Drill a hole in the center point of the bottom of the window (in the mark you just made) and set the bottom slat into it with a fastener. Use the bubble level to ensure the slat is level before drilling more holes into the wall and adding the rest of the fasteners.
Fasten the end caps to the housing unit and the end cap legs to the end caps. The legs should point downwards. Next, slide the guide rails onto the two legs. Position the partially-assembled housing at the top of the window, holding it in place with a fastener through the center hole. Make sure the ends of the guide rails are resting on top of the bottom slat.
Check each guide rail for plumb, using the bubble level. Then measure diagonally in both directions to be sure they are installed squarely. Once you are sure of this, you may now attach the guide rails with fasteners and cover the holes with the protective plastic buttons that come with the housing.
You will need help with this one. Unroll the shutter curtain and raise it to the top of the ladder. Gently feed it into the guide rails, with the exterior of the curtain facing toward your direction. Screw the curtain to the axle using the slat hangers, and then add the two stops to the bottom of the curtain, using screws to fasten them.
Snap the cover to cover the front of the curtain and secure it with screws. Also, screw the operator into its position on the housing unit. Finally, crank the operator; if you have followed the instructions correctly, the curtain should roll up and down smoothly. Do this a few times to be sure everything is working as it should. Roll the shutter into the housing and detach the crank.
Previous Article
Next Article

