Cutting windows can be a challenging task for any DIY enthusiast, but with the right tools and techniques, it's possible to get professional-looking results. One of the most popular tools for cutting windows is a circular saw. In this article, we'll provide you with a step-by-step guide on how to cut windows with a circular saw, as well as some tips and tricks to help you achieve the perfect finish.
Before you begin cutting your windows, you'll need to choose the right circular saw. There are many different types of circular saws on the market, ranging from cordless to corded, and from lightweight to heavy-duty. If you're new to DIY, we recommend investing in a mid-range saw that's easy to use and reliable. Look for a saw with a good blade size (around 7 1/4 inches) and a high-powered motor to ensure that it can handle the job.
Once you've chosen your circular saw, it's time to prepare your workspace. This is an important step to ensure that your cutting area is clean, flat, and free from any debris. You should also wear safety gear, such as eye protection and a dust mask, to protect yourself from any flying debris.
Before you begin cutting your window, you'll need to measure and mark out the area you want to cut. Use a tape measure to determine the exact size of your window and mark out the corners with a pencil. You can then use a straight edge to connect the dots and create an outline of the window.
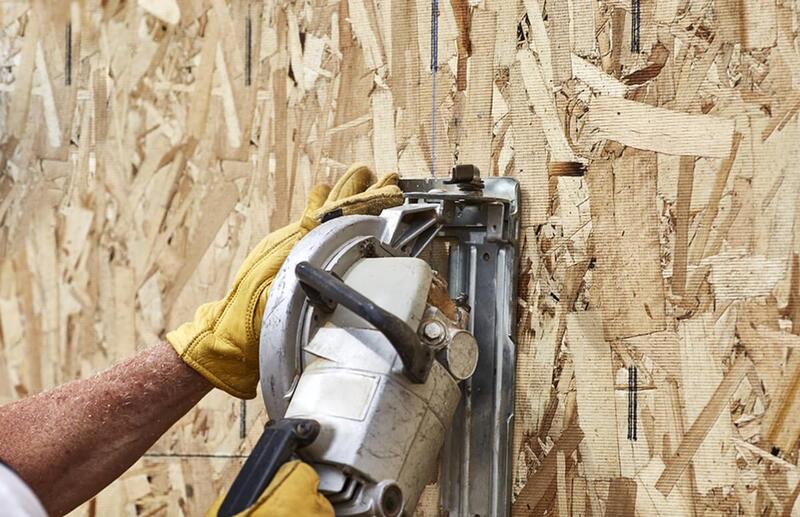
Now that you've prepared your workspace and marked out your window, it's time to make your cut. Begin by securing the wood to a stable surface with clamps to prevent it from moving during the cut. You should also adjust the depth of your circular saw to match the thickness of your wood.
Start your cut by placing the circular saw blade on the wood at the edge of the window outline. Turn on the saw and slowly guide the blade along the outline, making sure to keep the saw blade perpendicular to the wood. As you cut, be sure to keep your hands clear of the blade and never force the saw through the wood.
Once you've made your cut, you can finish your window by sanding down any rough edges and applying a coat of paint or stain. You should also install any necessary hardware, such as hinges or latches, to complete the window.
If you're in the market for a circular saw, it's important to read reviews of circular saws before making a purchase. Here are a few circular saws that have received high marks from DIY enthusiasts:
Cutting windows with a circular saw can be a daunting task, but with the right tools and techniques, it's achievable for any DIY enthusiast. The key to success is choosing the right circular saw, preparing your workspace, measuring and marking your window, making your cut, and finishing your window with sanding and painting
Previous Article
Next Article

